Five months on the run, right through the Highlands. No, this isn’t the story of an outlaw. This was a real prince being hunted. His experiences are legend in Scotland to this day.
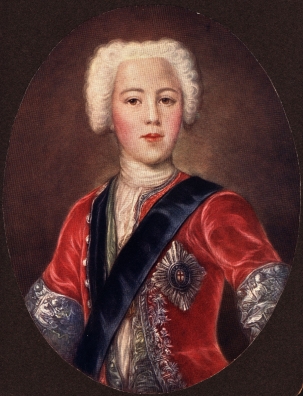
Charles Edward Stuart had come from France to the Highlands with great hopes. He, also known as Bonnie Prince Charlie for his good looks, wanted to assert his claim to the throne of England and Scotland – by force. He gathered clans loyal to him around himself and led them into war. But in the decisive Battle of Culloden near Inverness, his army was slaughtered within the shortest of time.
The prince narrowly escaped capture and then wandered through the Highlands for five months. This is the story of his escape and his experiences during that time.
The swift retreat: from Inverness to the west coast
Away from Culloden, whatever it took! Prince Charles and his few remaining followers were well aware that, after their victory, the government troops were absolutely determined to get their hands on the Stuart heir. Never again was the House of Stuart to rise. With this certainty, the fugitives rode like the devil, day and night.
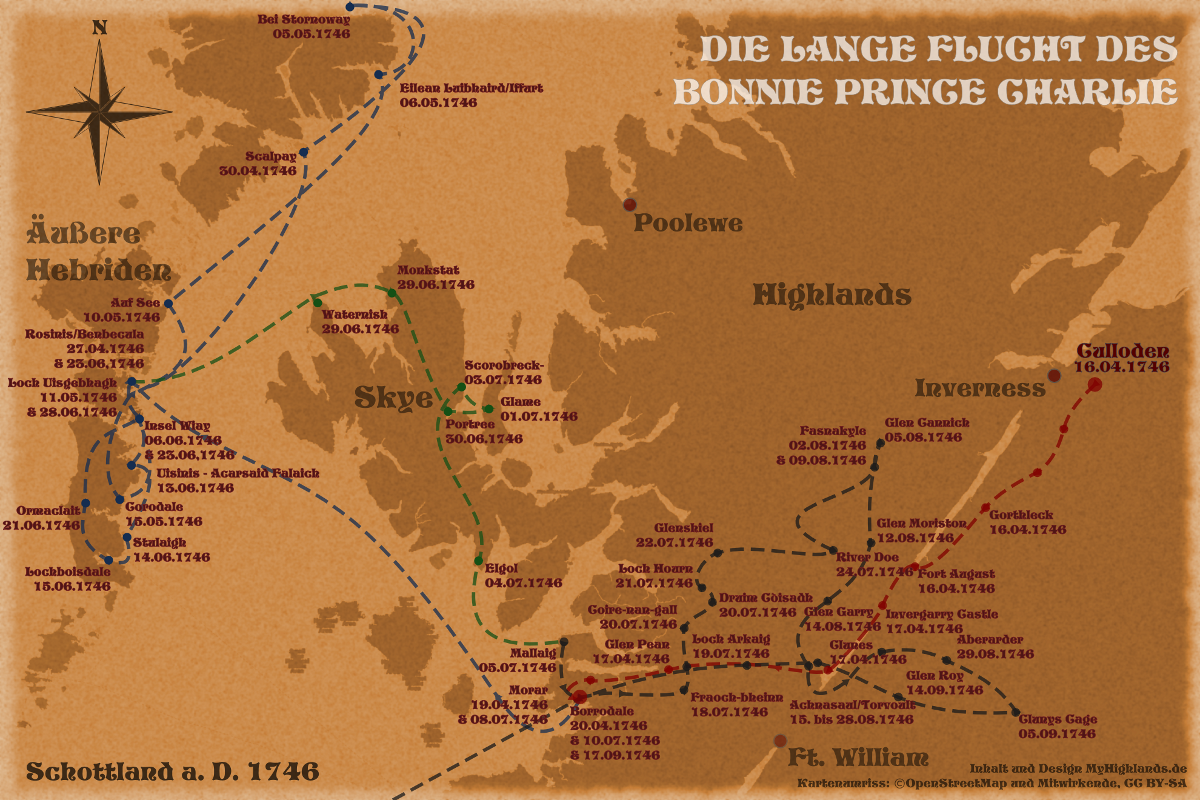
But anyone who thought the prince would head north was mistaken. Charles wanted to seek shelter with followers on the west coast, and then get across to France as quickly as possible. He didn’t yet know just how long an odyssey lay ahead of him. His route thus led him southward, along the Great Glen, down the east side of Loch Ness, via Fort Augustus down along the west shore of Loch Oich to Invergarry Castle (see the red line on the map).
Only here, on the morning after the battle, around 70 kilometres from Culloden, did the party allow themselves and their horses a first rest. The castle at Invergarry, incidentally, is nowhere to be found today. It was burned down by the enemy shortly afterwards.
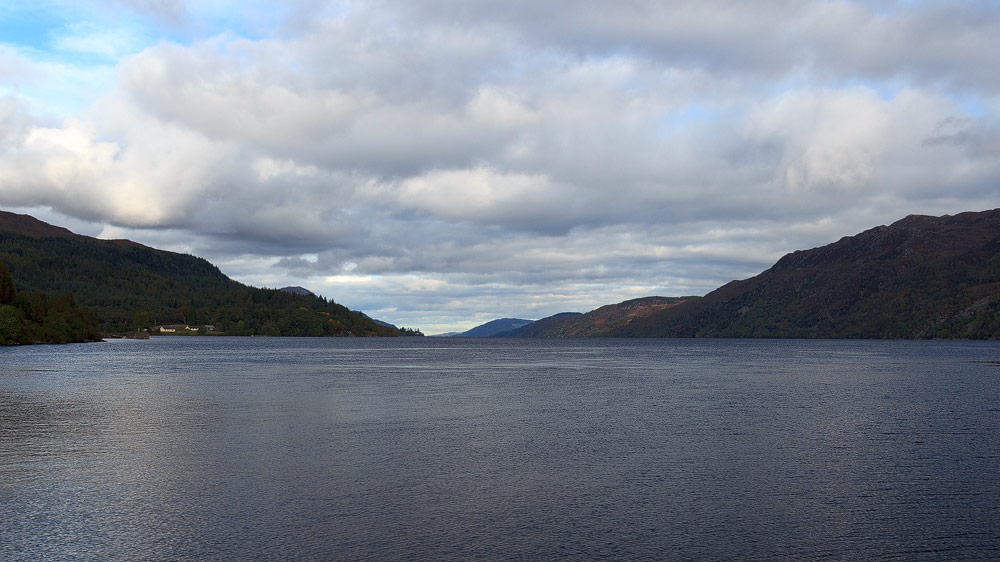
Already by the afternoon, the party had to move on. Always with fear of the enemy at their backs, they drove the horses southward along Loch Lochy to Clunes, where they turned west and rode along Loch Arkaig. What a magnificent landscape must have awaited them there. But they surely had no eyes for it.
At the far end of Loch Arkaig, near Glen Pean, the troop finally found sleep. They had by now put around 100 kilometres between themselves and the scene of disaster at Culloden – in just two days!
They rested for one night, and were given food. It wasn’t far now to Scotland’s west coast. But obstacles now stood in their way: mountains. The horses were of no further use from here, and the prince continued on foot – again at night! He made it, arriving at Morar utterly exhausted, and pressed on the following night to Borrodale near Glenfinnan, where he hoped for shelter and later for a passage to France.
But no one wanted to, or could, take the prince in permanently – it was too dangerous! The government troops proceeded mercilessly against all supporters and helpers of Prince Charles Edward. Their tactics of intimidation proved effective.
A new plan was needed! Those helping him escape decided: Charles should move to the Outer Hebrides, the island chain to the west of Scotland. From there, perhaps a ship could be found to carry him to France. Or – if that didn’t work out – at least to Orkney and onward to Sweden or Norway. Either way! As long as he was safe.
Hunger on the Hebrides
At first, though, it wasn’t safe at all: a storm blew up, throwing the little boat with its crew of around ten dangerously about. But its steersman, Donald MacLeod, stayed cool-headed, skilfully sailed around the Isle of Skye, and finally landed at Benbecula in the Outer Hebrides.
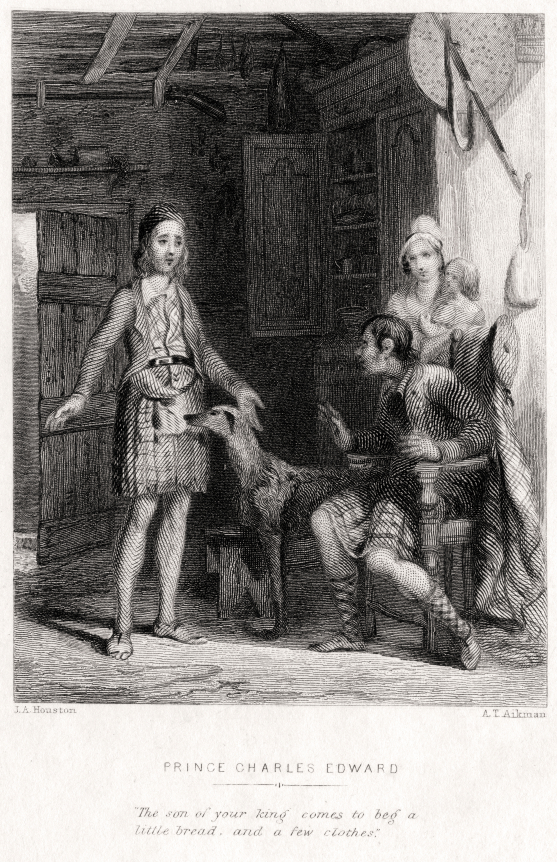
Ten days had by then passed since the fatal Battle of Culloden. That was time enough for the government troops and their allies to painfully tighten their grip on the Highlands. Even in the outlying regions of Scotland, the prince was granted no peace: militias sent out search parties across the islands, and the sea was watched over by English warships. The fugitive’s situation grew ever more perilous.
Charles Edward’s companions now turned north, towards Stornoway, the capital of the Hebrides. There they hoped to secure a seaworthy ship. But when the residents heard who was trying to enter the town, they refused the prince entry. The fear of reprisals was too great. And it wasn’t unfounded! Helping Bonnie Prince Charlie came at a price: imprisonment, interrogation, confiscation of property, or in the worst case, execution.
At the same time, betrayal was tempting! The English crown had put a bounty of 30,000 pounds on the handsome prince’s head – a fortune at the time. But betrayal – hardly anyone was willing to go that far. Not helping was one thing; handing the prince straight over to the enemy was quite another.
By now, 15 English warships guarded the Hebridean islands. The chance of a French ship being able to anchor nearby was therefore essentially zero. What’s more, their pursuers knew the prince had to be somewhere here. The noose was tightening ever further.
The area around Stornoway was too dangerous, so they turned south: the group had to keep hiding, sleeping on small deserted islands, in the boat at sea, in huts, or out in the open. Storms and hunger took their toll on the companions. Hiding places became ever rarer.
With over 500 men, the government troops (not all Scots sided with the Jacobites – not even in the Highlands) were now on the island chain, searching everything methodically. More than once, the prince only just managed to slip away at the last second. (The blue route on the map accompanying this article shows the path the group took during this period.)
The Outer Hebrides were looking more and more like a very bad idea …
Charles Edward now made a decision to protect the others: he disbanded the escape group. The loyal steersman Donald MacLeod, who had accompanied him since Borrodale and had brought him safely through the storm, left – in tears. It happened as it had to happen: shortly afterwards, MacLeod was arrested. As was everyone else from the group whom the prince had actually wanted to protect.
Only an Irishman named O’Neil was allowed to remain with Charles Edward.
It was in this hour of utmost need that a woman entered the prince’s life. Her name: Flora MacDonald.
A prince in women’s clothing on Skye
Flora and the prince met in a hut (near Ormaclette, see the map). She, young and full of romantic enthusiasm for the nobleman (though not necessarily for his cause!). He, disillusioned, gaunt, half-starved, weak. Charles wanted, and needed, to get off the Outer Hebrides. But by now they were hermetically sealed off by warships and troops. Without a forged pass and without a disguise, the prince wouldn’t get far.
It was Neil MacEachainn who finally came up with the plan: Charles should disguise himself as a woman, as the maid Betty Burke. Flora should organise a pass for “Betty” – together they would then cross over to Skye.
Only hesitantly did Flora agree to the idea. Eventually, though, she set off to obtain the documents – and was promptly arrested herself, since she had no pass. To her good fortune, however, the captain of the troop turned out to be her stepfather, Hugh MacDonald of Armadale. She persuaded him to issue passes for Flora, Betty, and their escort. Hugh even wrote a letter recommending Betty Burke to his relatives on Skye – unaware that the maid was the wanted prince.
Flora then arranged a boat and a rowing crew. She did everything to turn the plan into action. But she set one condition: loyal O’Neil was not allowed to come along – she had no pass for him. And so, here, the paths of the prince and his last remaining companion from Culloden parted. Naturally, this decision proved fatal for O’Neil: he was captured by the enemy shortly afterwards. But even under threat of torture, he revealed nothing about the plan.
Finally: on the evening of 28 June 1746, Flora MacDonald and maid “Betty Burke” set out to sea from Loch Uisgebhagh, leaving the Outer Hebrides behind. Charles had wandered there for two months.
This crossing too was stormy, and the reception at Waternish on Skye was unfriendly. Enemies with boats were already lying in wait there too, and they didn’t hesitate – opening fire on the new arrival and putting the militias on Skye on high alert. So Charles had jumped from the frying pan into the fire. (The green markings on the map show his stay on Skye.)
Flora and the prince rowed on and finally landed at Trotternish, where they found shelter with Lord and Lady Kingsburgh. A night with food, whisky and a good bed … at least that much.
The next day, Flora, the prince and the Kingsburghs set off for Portree – separately, however, to avoid arousing suspicion. Charles was still “Betty Burke”. More than one traveller on the road wondered what a coarse, gangly woman this was, walking towards them. Only shortly before reaching the town did Charles shed the women’s clothing and change into Highland dress.
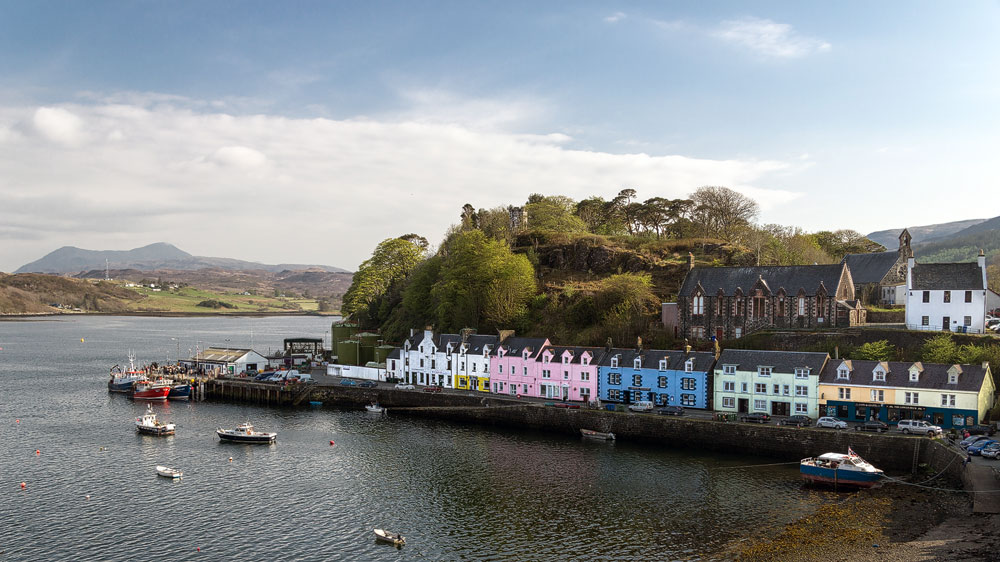
Another new plan: from Portree, the prince wanted to head to the offshore island of Raasay, where he hoped to find shelter with friends. Before the crossing, he met his helpers at an inn. And here he said goodbye to Flora MacDonald – forever.
It happened as it had to happen: Flora and the Kingsburghs too were arrested shortly afterwards. Anyone who helped the prince was doomed.
Charles remained just one day on Raasay – it quickly dawned on him that the island wasn’t suited as a hiding place. So he crossed back to the main island and, after a two-day march, reached the village of Elgol in the south of Skye. Here, supporters helped him cross to Mallaig on the Scottish mainland.
Prince Charles was now back in the very region where his unsuccessful campaign had begun.
Mountains and caves
Most of his earlier helpers had by now already fallen into captivity. Charles needed new companions. And although Jacobitism was banned, ardent supporters of his cause kept coming forward, again and again.
But the enemy never slept: the troops had established camps right across the region, sending out search parties that kept flushing the fugitive out and forcing him to keep moving. They knew the prince had to be nearby. By now he was back at Borrodale, and once again couldn’t board a ship for France there – there simply wasn’t one.
Charles Edward decided to head for the port of Poolewe, further north along the west coast – perhaps he would have more luck there. Wanting to make things difficult for his pursuers, the fugitives now scrambled from mountain to mountain and from loch to loch (black route on the map above). His hunters were repeatedly right on his heels.
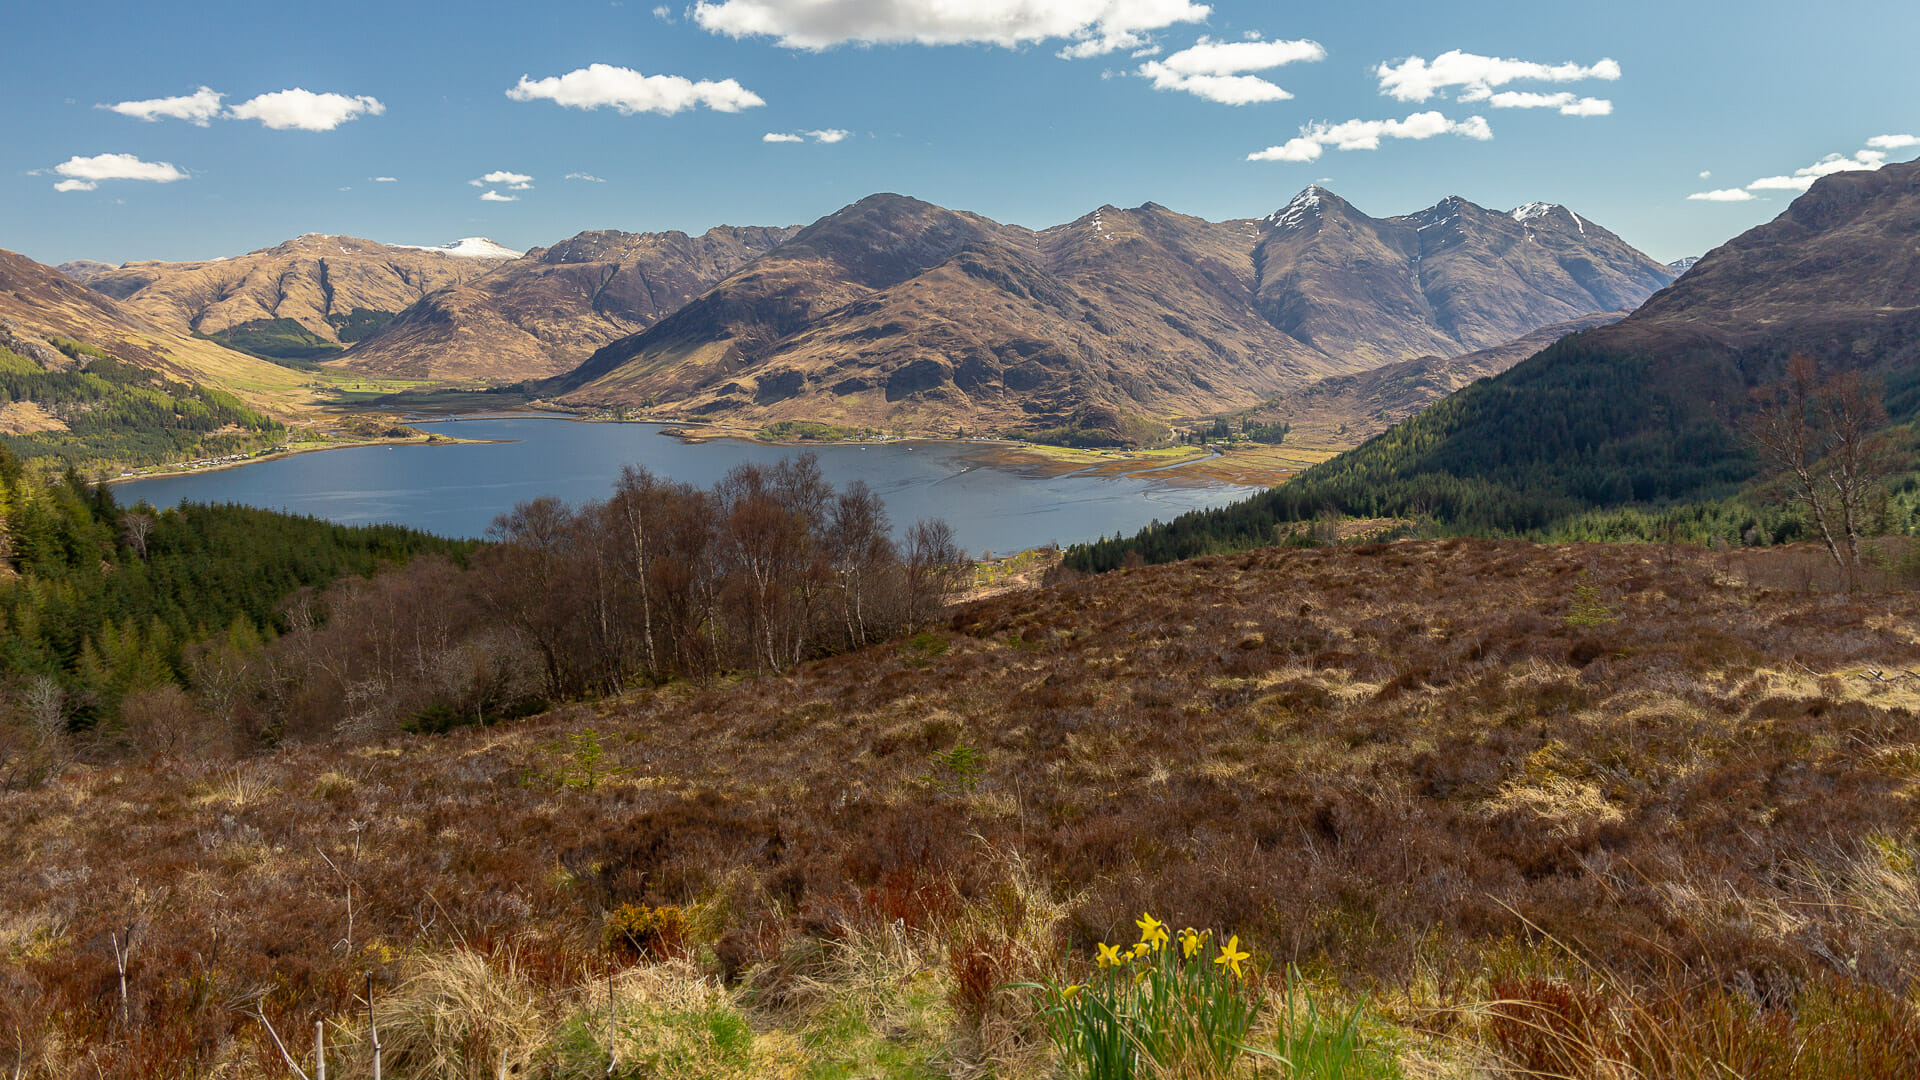
But on 22 July – in the shadow of the beautiful mountain range Five Sisters of Kintail – the prince received devastating news: he heard that the only French ship had already left Poolewe. His hope faded, yet he couldn’t afford to stop.
Driven on by his pursuers, he continued northward. It counted as a luxury whenever he didn’t have to sleep in a cave or out in the open, but could find a spot in a supporter’s hut instead.
Then, finally: hope! News reached him that two French officers had set out from Poolewe to search for the prince. Help was on its way – he hadn’t been given up on! He changed course again, heading south to intercept the French.
From now on, fortune was to favour Charles Edward. The enemy kept withdrawing more and more troops. By mid-August, even a large part of the search parties had vanished. On 21 August, he finally met with the French officers and exchanged news with them.
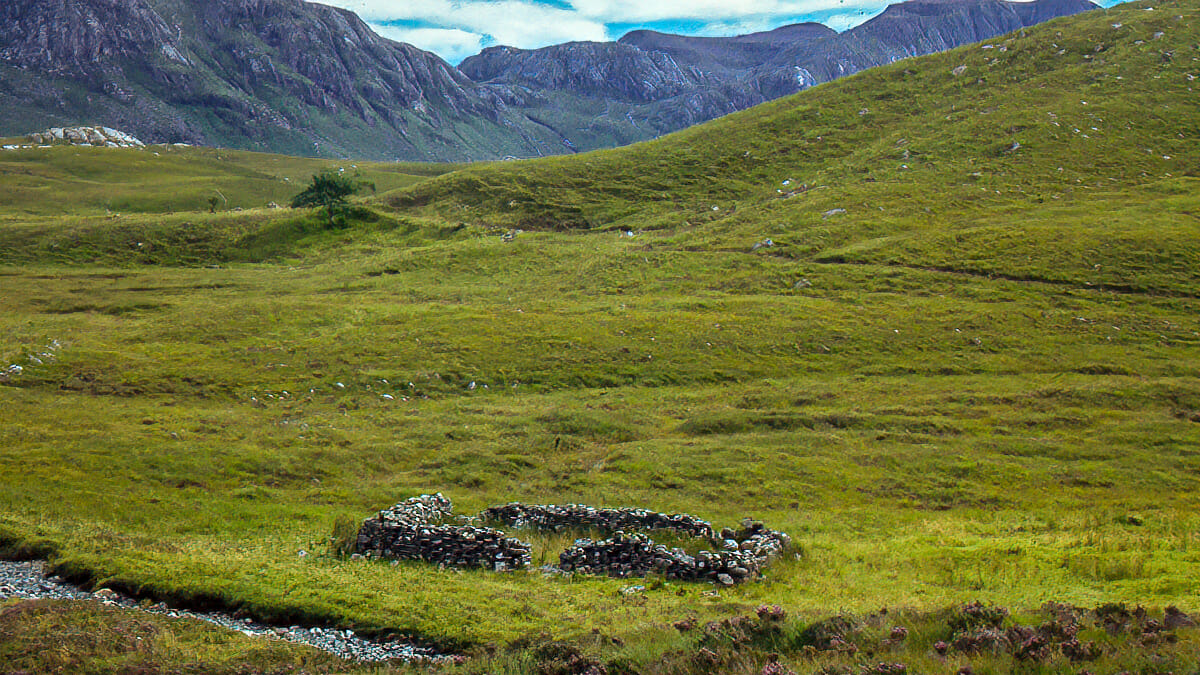
Even so: Charles still had to keep fleeing, repeatedly changing location. His pursuers hadn’t entirely given up yet. He withdrew further east into the Grampian Mountains, where he hid for days in the famous Cluny’s Cage (long thought to be a cave, though newer findings suggest it was actually a hut).
Mid-September brought deliverance: two French ships were waiting for him at Borrodale. The prince covered the distance there in just six days. A happy ending?
Farewell to Scotland
Charles Edward Stuart was once again in Borrodale. Where his campaign had begun, his escape was now to end. Here, on 20 September, the Stuart heir boarded the long-awaited French ship that would carry him to the European mainland.
The prince was saved. Most of those who had helped him escape – including Flora MacDonald – were not. They had been captured. And a dark time began for the clans of the Highlands: bans on the language and the traditions. Persecution of the Jacobites. Soon afterwards, the merciless Highland Clearances began too. Charles Edward left behind a broken land.
From then on, there isn’t much more to say about the handsome prince. He passed his time with women, descended into alcoholism, until he finally died on 31 January 1788. His remains were later taken to Rome.
With him died the Stuart family’s claim to the crown of England and Scotland – and with it, the Jacobite cause.
Author’s afterword
Jacobite Steam Train, Glenfinnan Monument, Culloden, Cluny’s Cage – you run into the name “Bonnie Prince Charlie” everywhere in the Highlands. He slept here, he stayed there … I roughly knew what it was all about: the Jacobite rising. But what exactly his escape entailed, and why his name kept turning up in so many places far apart from each other, I didn’t understand for a long time.
And so I wanted to find out exactly.
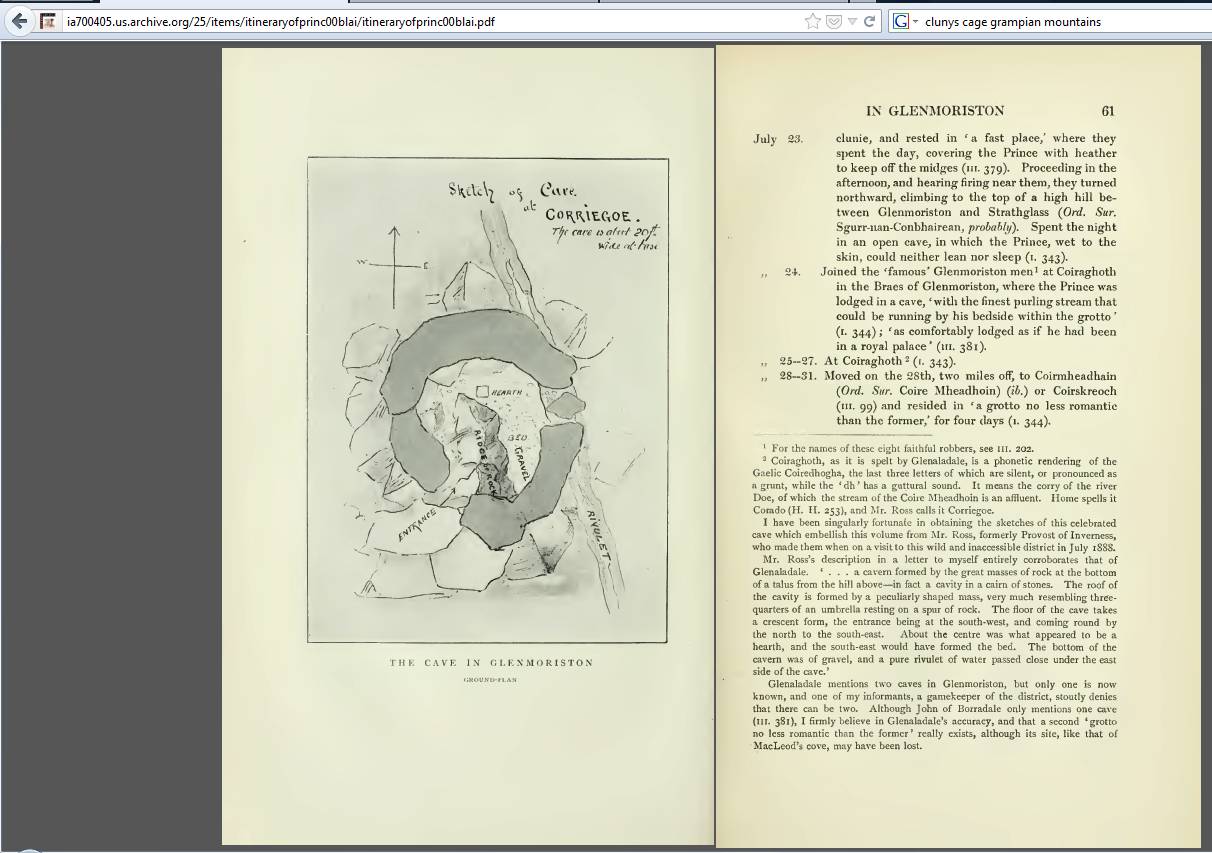
I started researching, and gradually it became clear to me: this escape was long and complex. That’s why there was no summary online that I found usable – mostly just fragments or anecdotes. I could only find one scanned old book (“Itinerary of Prince Charles Edward Stuart …”). The places described in it, however, carried entirely different names from what they do today. Or they’re simply no longer significant enough to appear on maps at all: at Borrodale (or “Borradale”, as it’s spelled in the travel account) – a harbour the prince visited several times – today only the nearby railway bridge “Borrodale Viaduct” still recalls the name. Some of the mountains the prince climbed are spelled quite differently today than in the book. Some names that sound like proper nouns actually refer to the spurs of a river or a loch (“Brae”), and so don’t appear on today’s maps either.
I pieced together a handful of sources: the Ordnance Survey Maps with their detailed place names; Canmore, to find some places no longer marked on today’s maps; Peakery, which knows more summit and mountain names than the OS maps, and so on.
For anyone interested: the most important sources are listed below at the end of the text.
The more I read, the more I realised the route was too complex to tell purely as a story. So I began drawing my own map (the Itinerary, the book, does contain a map, but its resolution is too poor for the web, and besides, I don’t hold the rights to it, and it doesn’t know today’s place names anyway). The result is the map at the top of this article.
Of course, many small stories are missing from my account. For example, the one about Bonnie Prince Charlie’s shoes: he swapped them for new ones at Kingsburgh’s house; the old ones stayed there, and Kingsburgh wanted to show them to the prince once he became king again – which, of course, never happened. Later, the shoes were cut up and distributed as relics. Or that the prince couldn’t really convincingly play the maid Betty Burke, which sometimes caused danger and sometimes hilarity. And much more besides.
I hope you still find my text and the map informative and exciting. Feel free to let me know your thoughts in the comments.
